Calligraphy for left-handed beginners

If you want to learn calligraphy as a left-handed beginner, you’ve probably heard at least one discouraging myth: it’s harder for lefties, you need special tools, or worse — you should switch hands.
After more than a decade of practicing calligraphy and three years of teaching in-person workshops, I can confidently say this: left-handed people can write calligraphy just as beautifully as right-handed ones.
The key isn’t changing your hand — it’s adapting your setup.
My experience teaching left-handed calligraphers
I’ve been practicing calligraphy for over 10 years and teaching beginner calligraphers in workshops for the past three. In almost every face-to-face class I teach, there’s at least one left-handed student. Watching them work in real time has been invaluable.
What’s important to understand is that no two left-handed calligraphers are the same. Each person’s challenges—and solutions—are slightly different. Most of the time, progress comes from a combination of choosing the right tool and experimenting with paper angle.
The most common struggles left-handers face
From my workshops, three challenges come up again and again:
Smudging ink as the hand moves over freshly written letters
Difficulty achieving clean thick and thin strokes
Keeping a consistent slant throughout a word or line
All of these are solvable—with the right approach.

A closeup of desk setup for left-handed calligrapher.
A simple solution many left-handers overlook: brush pens
If you’re not precious about using a traditional dip pen, switching to a brush marker with a fibre tip can instantly remove many frustrations.
Brush pens work beautifully for left-handed calligraphers because:
The ink is absorbed quickly, reducing smudging
You can still achieve expressive thick and thin strokes
You can write the same styles you would with a pointed pen
The key technique is holding the pen at roughly a 45° angle to the paper so the tip can bend properly for thick downstrokes.
Great options to try:
Pentel Brush Sign Pen
Tombow Fudenosuke
(For all materials for brush pen calligraphy read this article).
Pointed pen calligraphy: what really matters
For pointed pen calligraphy, the fundamental rules are the same for everyone:
Thin strokes on the up
Thick strokes on the down
A consistent slant for each script
Many beginners assume left-handed writers need special “leftie” nibs or pens—but that’s not true. (For pointed pen materials read this article.)
Left-handed calligraphers: a straight pen holder can make it easier to write slanted scripts.
Straight vs Oblique pen holders
The oblique holder was originally designed to help right-handed calligraphers achieve the correct slant. Left-handed calligraphers have a natural advantage writing at an angle and should be able to use a straight holder easily.
In my experience the straight pen holder is more comfortable for some, but not all, lefties.
That’s why in my workshops I always encourage my students to try both straight and oblique holders. I find that many left-handed students prefer the oblique—and that’s perfectly fine. Remember, you don’t need a special left-handed oblique holder either.
My tip: start with a dual pen holder. They’re inexpensive and can be used as both straight and oblique, allowing you to experiment without wasting money.
(The differences between straight and oblique pen holders - in this article).
Nibs that work well
Nikko G
Zebra G

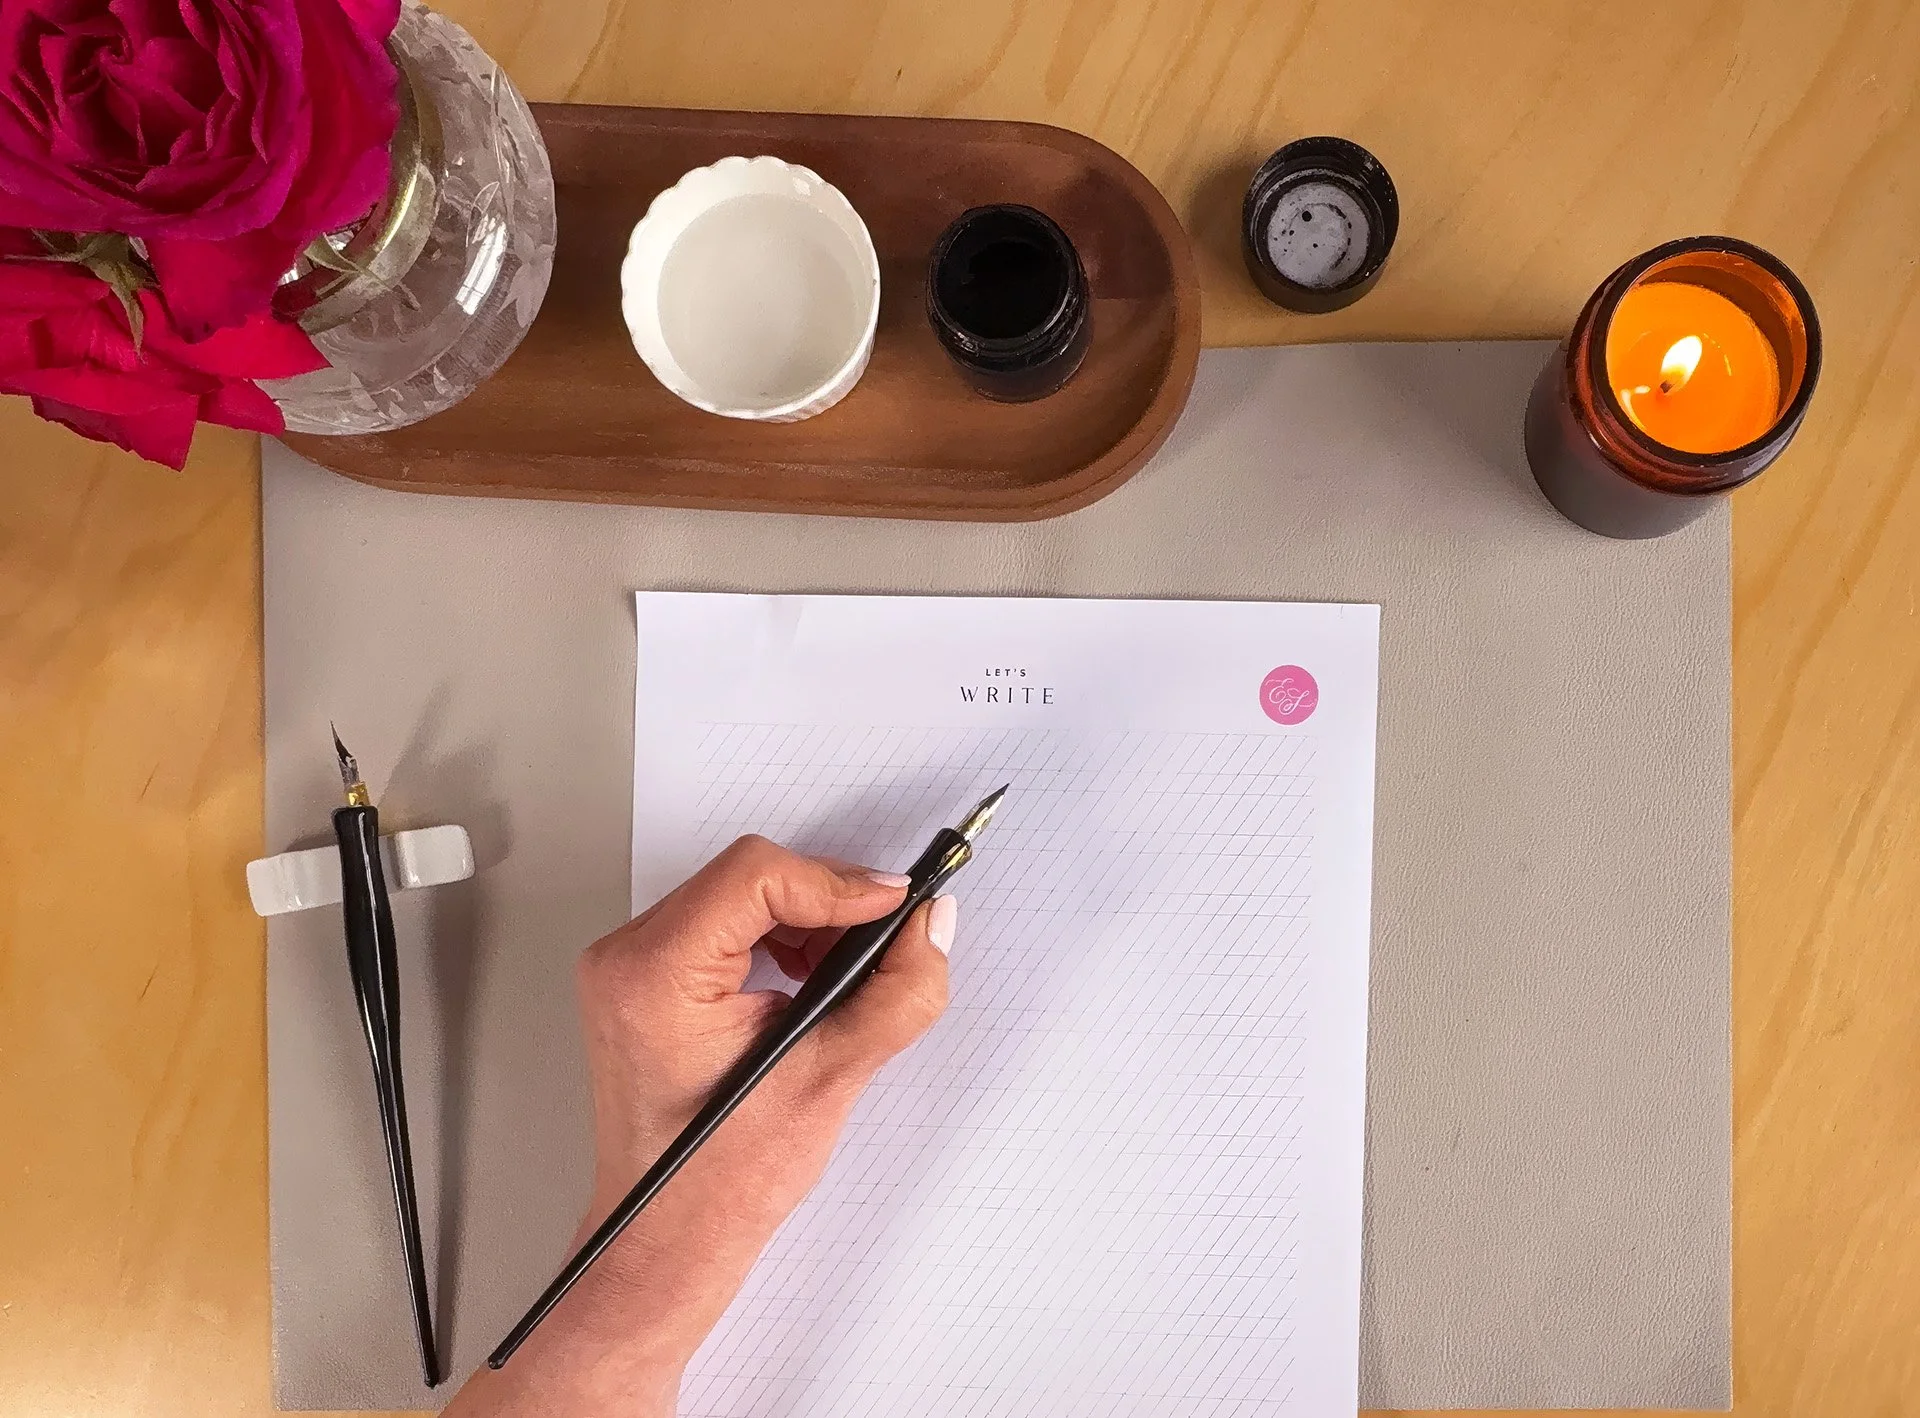
Left hand calligraphy setup: writing with an oblique pen holder and experimenting with the angle of the page.
Paper angle: the real game changer
Adjusting the angle of your paper is often the single most important breakthrough.
There’s no “correct” position that works for everyone. Instead:
Observe how you naturally write
Keep in mind that your pen should remain perpendicular to the paper
Rotate the paper so the pen and page feel aligned
This might mean rotating the paper slightly—or as much as 90 degrees. It can look unusual at first, but many students are surprised by how natural it feels once they try it.
Teaching left-handed students: what I do differently
When teaching left-handed students, I focus less on rules and more on observation and experimentation:
I encourage them to study their natural writing habits
I have them try both straight and oblique holders
I guide them to rotate the paper to the right at various angles until something clicks
Once they find their own setup, confidence builds quickly.
Many left-handed students arrive at my workshops worried they’ll struggle compared to right-handed participants. By the end of the session, they’re often amazed at what they’ve achieved in just a few hours.
They leave proud, motivated, and—most importantly—excited to keep practicing. That shift in confidence makes all the difference.
Myths about left-handed calligraphy
Let’s clear this up once and for all:
❌ Calligraphy is not only for right-handed people
❌ You do not need special tools
❌ You definitely do not need to switch hands
Left-handed calligraphers can achieve any style of calligraphy. The only requirement is a willingness to experiment and adapt.
Final words
The most helpful mindset shift I see in my students is this:
Work with what feels natural to you. Adapt your setup—not your hand.
Calligraphy is about rhythm, movement, and enjoyment. Once your tools and paper work with you instead of against you, everything becomes easier—and far more enjoyable.
Read more about learning calligraphy